How to add new categories in influencer dashboard?
Visit the influencer dashboard for which you want to add new categories. Then follow the below-listed steps.
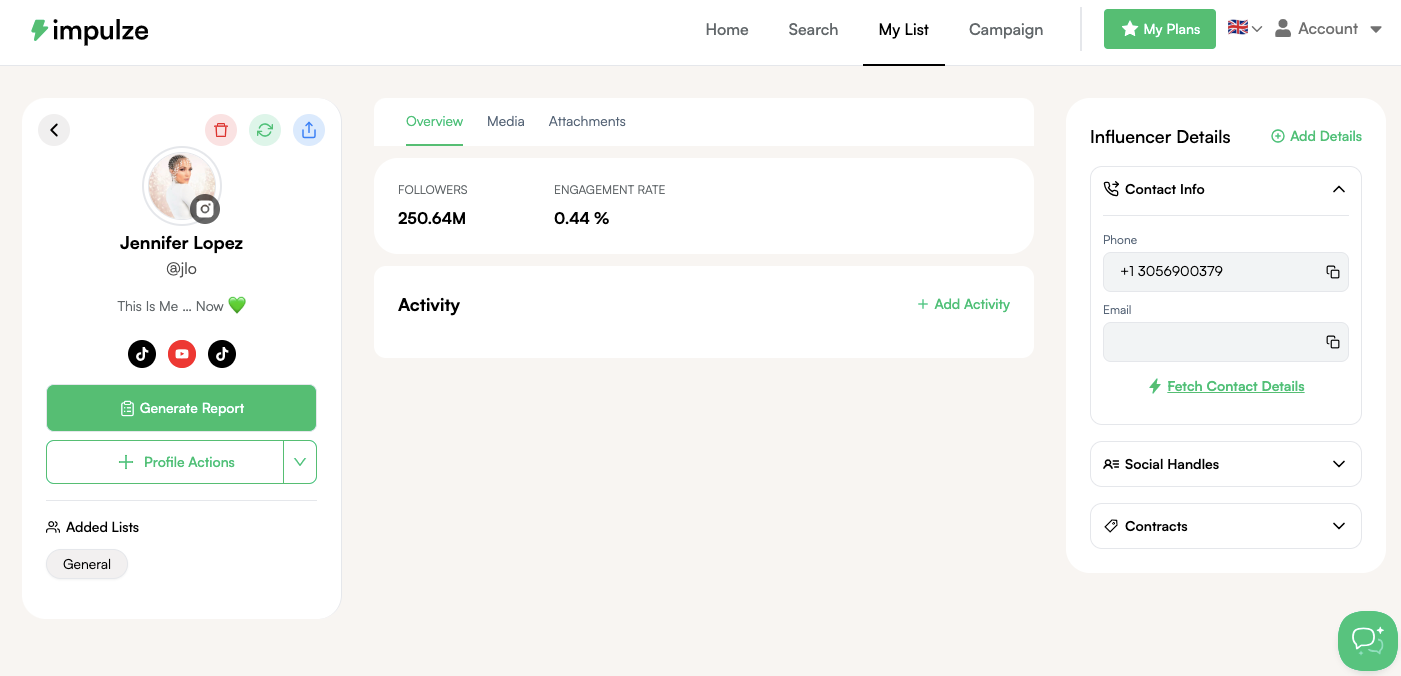
- Click on “Add Details” in the top right corner.
- You can see this pop-up. Here, you can add new categories to store relevant information for this specific profile.
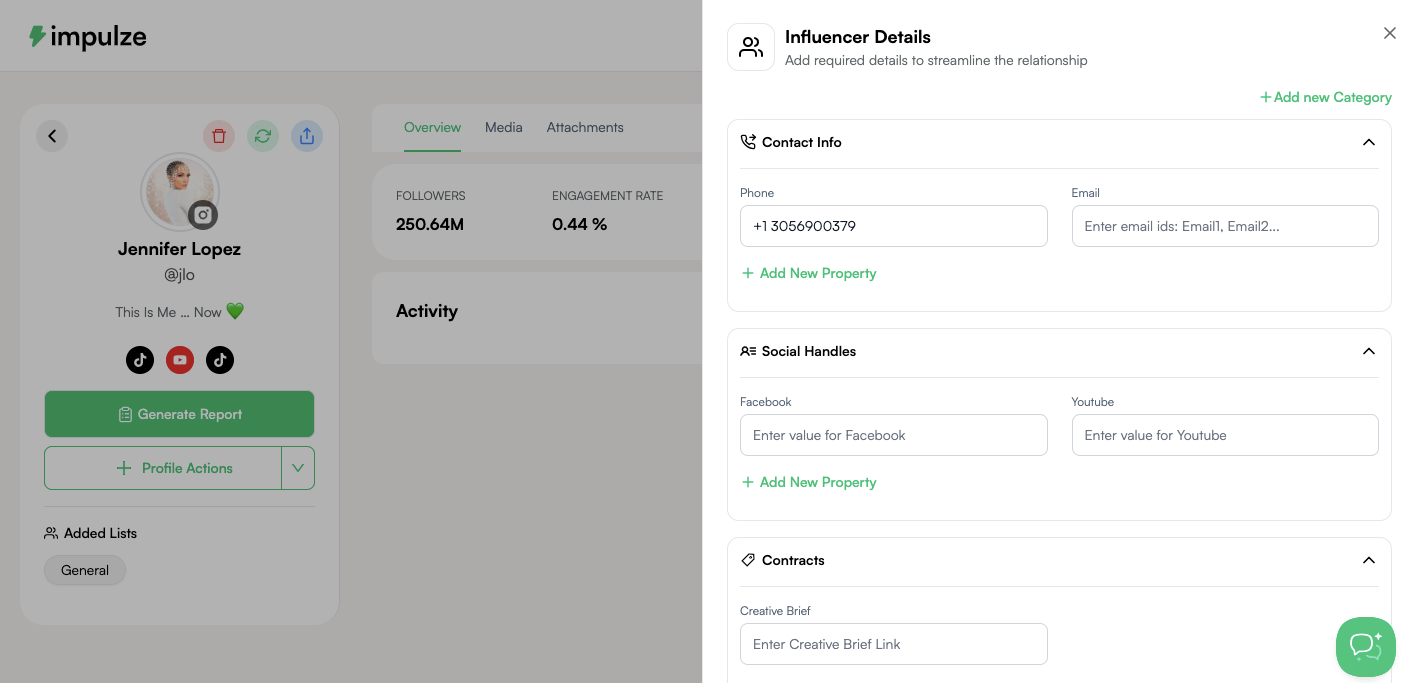
- When you click “Add Details,” a new tab will appear where you can create new categories and add attributes.
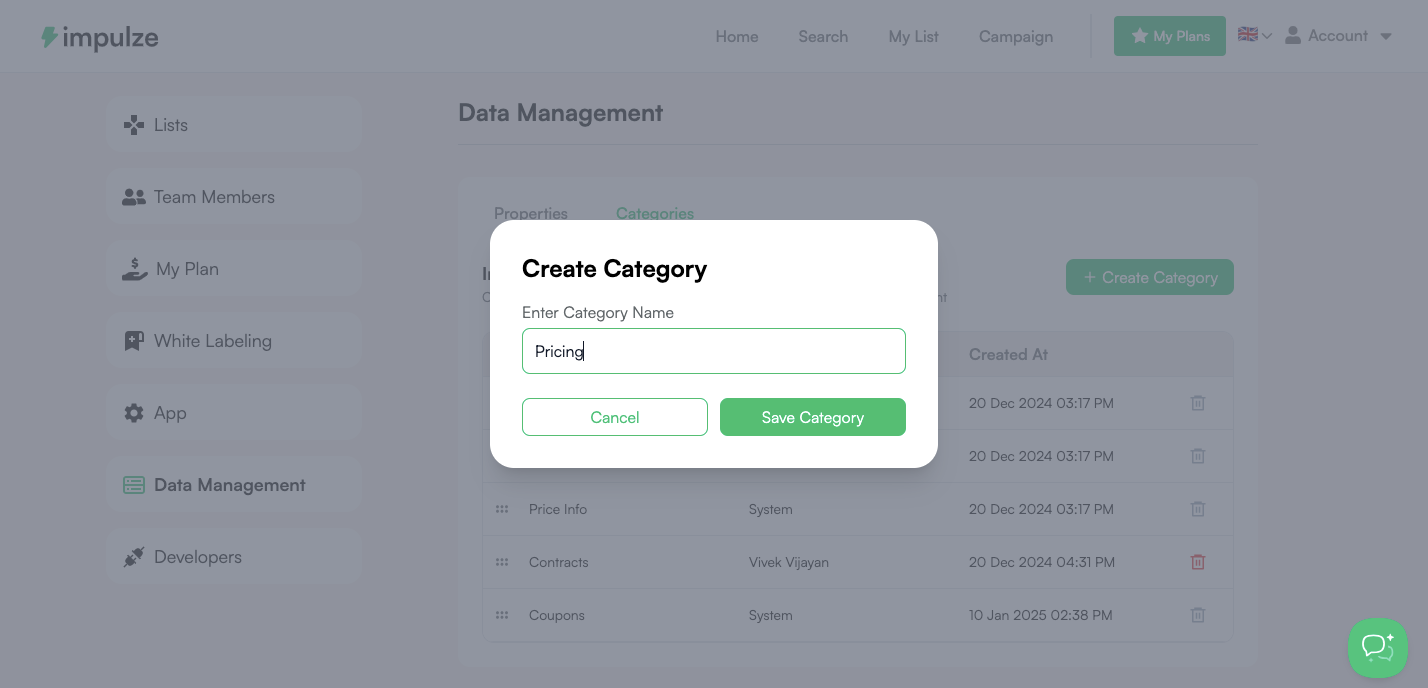
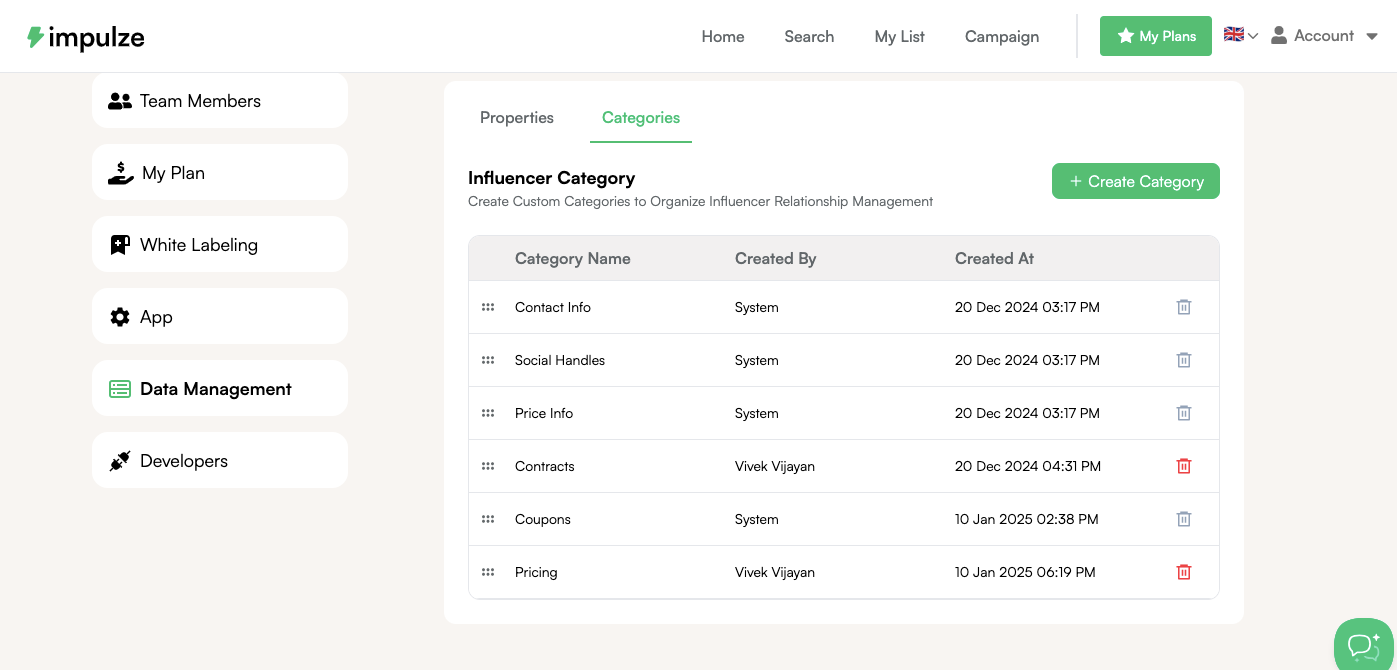
- Now, click on the “Create Category” button, and you will see the following.
For instance, let’s say we create a category “Pricing” to maintain how much influencer is charging and click “Save Category”.
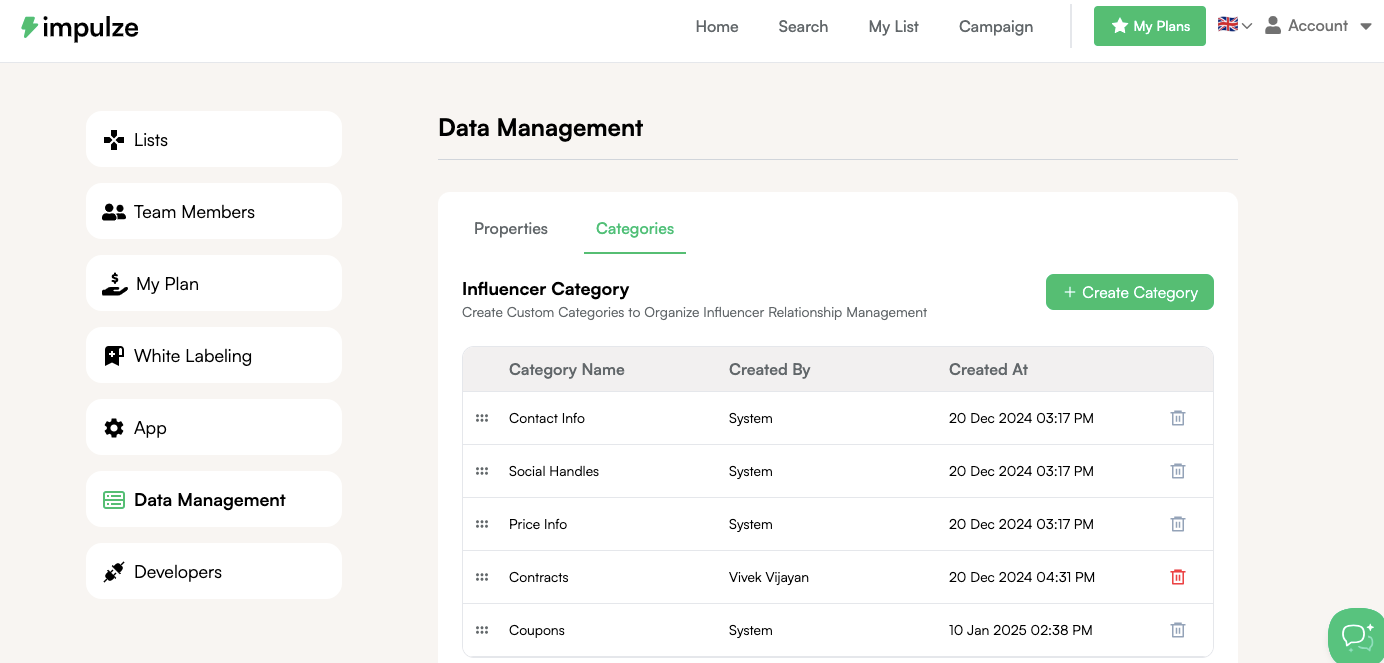
It gets added to the list:
- Now, it’s time to add the properties. Click on “Properties” and Click on “Create Property”

You need to add “Property Name”, and “Type” to determine if it’s a link, text, or number from the dropdown menu. Then, finally, select the Category, which in this case is “Pricing”. Select “Save Property”

- Now, go back to the influencer profile and you can see the new category added to the page.

- Now, all you need to do is click on “Add Details” again and add the pricing for the influencer. Similarly, you can add different categories and track details for influencers.
